Hey Minotaurs!
Hi Everyone, it’s Ben and Hilary here, you probably saw us out on the course with our cameras trying to catch some photos of you. But then again, you might have had sweat in your eye or the blur of pure determination and focus, so maybe you didn’t see us after all. Either way, congratulations on Meeting the Minotaur! We were so excited to be part of the event again this year and were blown away by the scenery, the weather, and by all of your energy levels and enthusiasm out there!
If you happened to roll out of bed after race day wondering what the hell just happened and not remembering anything from the race, that’s where we come in. We tried our best to get some photos of each and every one of you, as well as photos of the spectacular course and scenery.
Last year, we wanted to try something a bit different by offering all of the full resolution photos from the race as a “pay what you want” kind of deal. This means that after such an awesome day in the mountains everyone gets a few memories to take home with them and share with others no matter what. You can download and access all of the photos completely free, and if you enjoy them and want to make any sort of donation, it would be really appreciated and help us cover our costs.
We were blown away by your gracious donations last year, and can’t tell you how much we appreciated it! Because of that, we wanted to do the same thing this year.
If you downloaded photos or donated last year, then you already know the drill, but otherwise head to the galleries below to find your photos, or check out the donation instructions below.
Instructions for donations:
Option 1: If you’re into this new-age technology stuff, you can send an e-transfer over to ben.campbell.r@gmail.com and that will find its way to us. If you need to enter a security question and answer, just make the answer “minotaur”.
Option 2: You can click the Donate button below, and enter credit/debit card details which will send it to our PayPal.
If you would like any prints of the photos, feel free to give me a shout at ben@firstlightvisualmedia.com and I’d be happy to help you sort that out.
We really hope that you enjoy the photos and that they help you relive race day. Whether you really want to or not is a different story though right?
Thanks again and nice work out there!
The Goods
Best Of - Photo Gallery
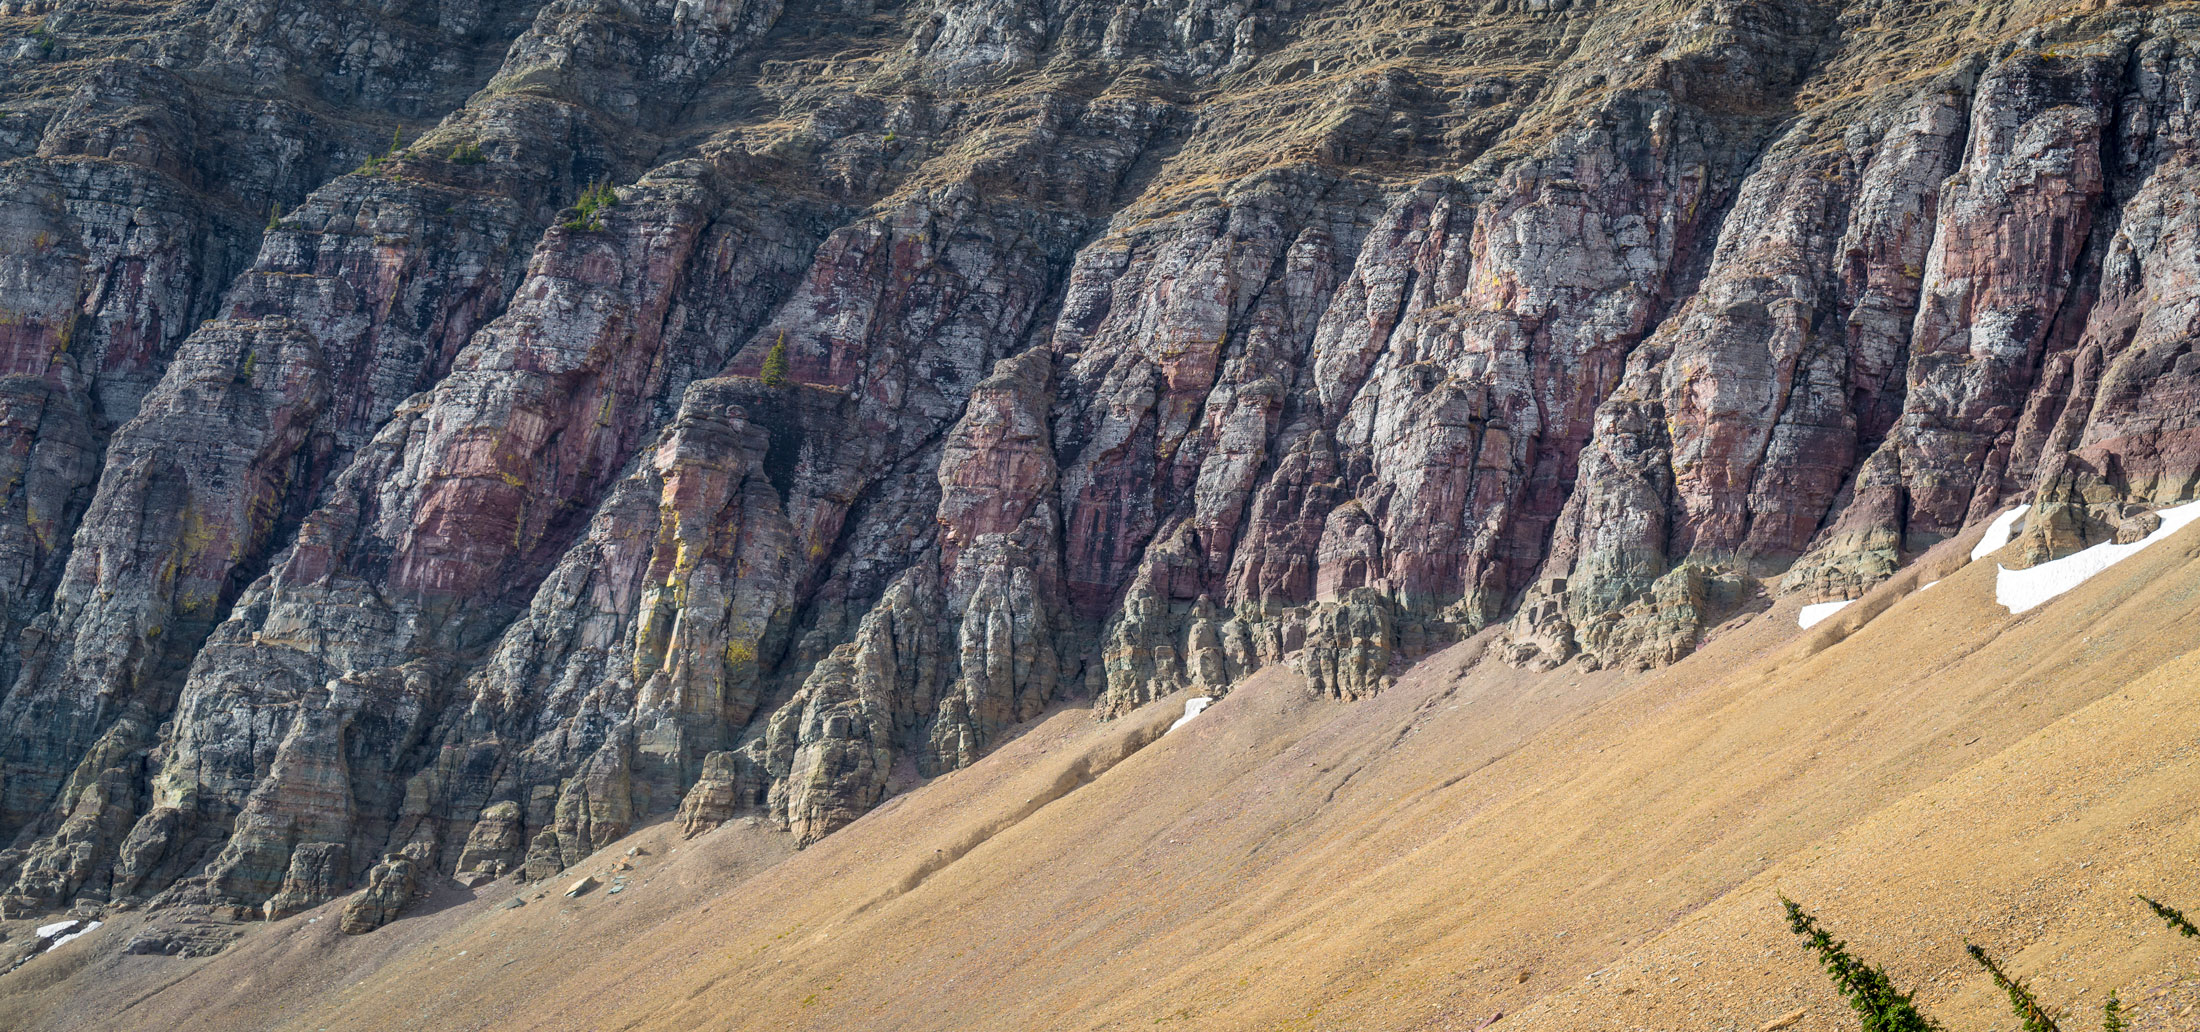
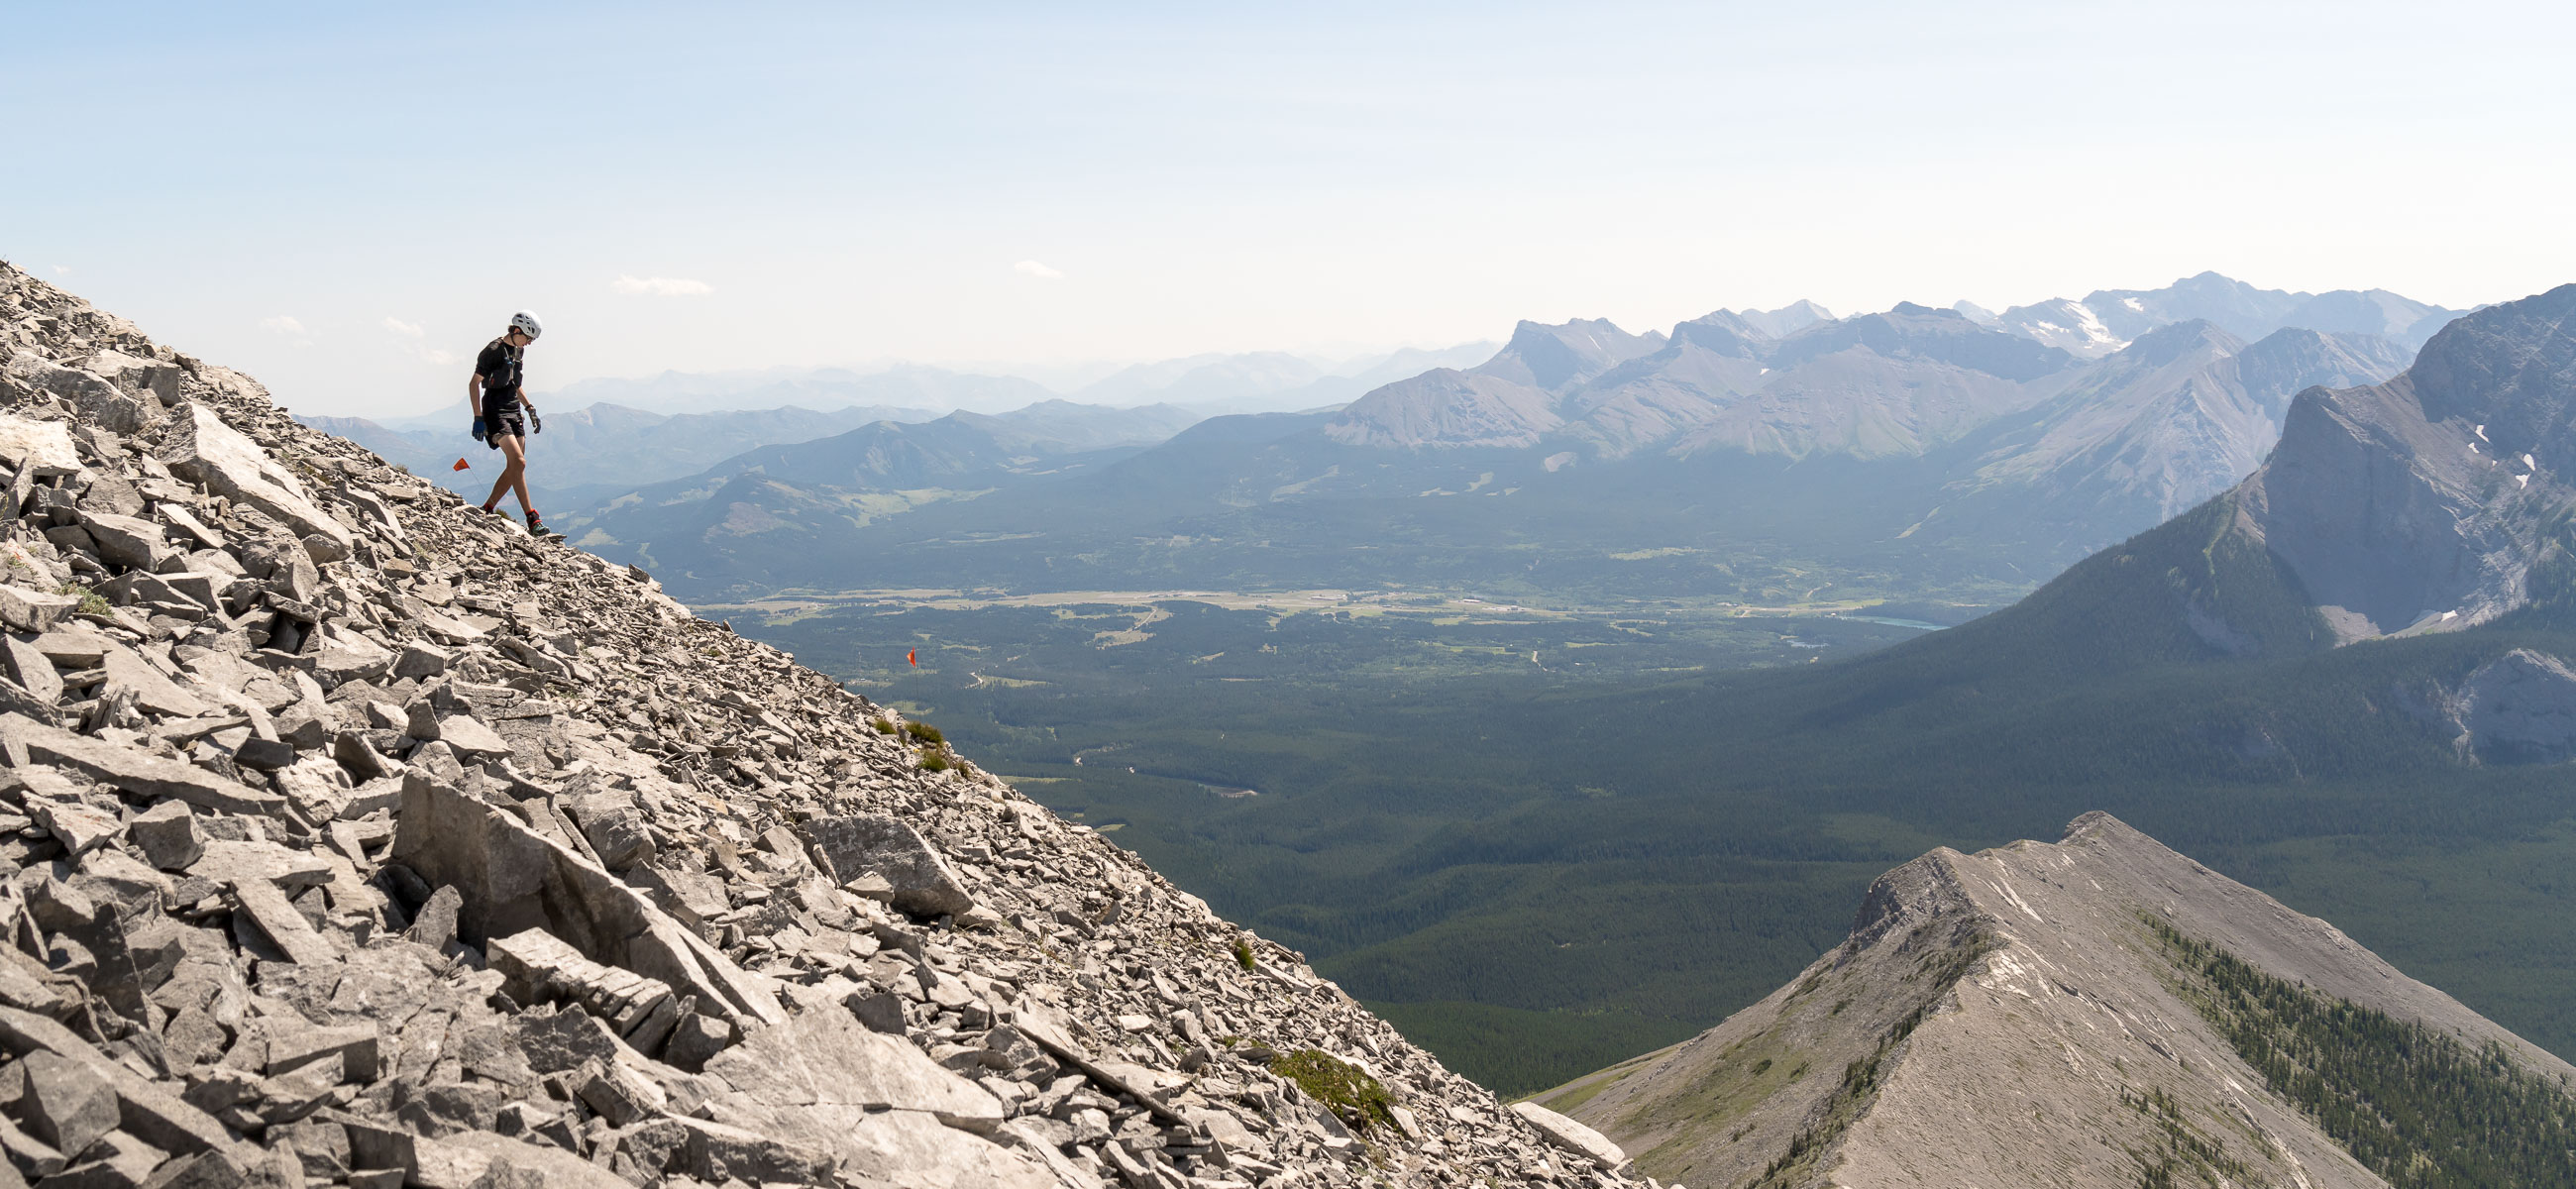
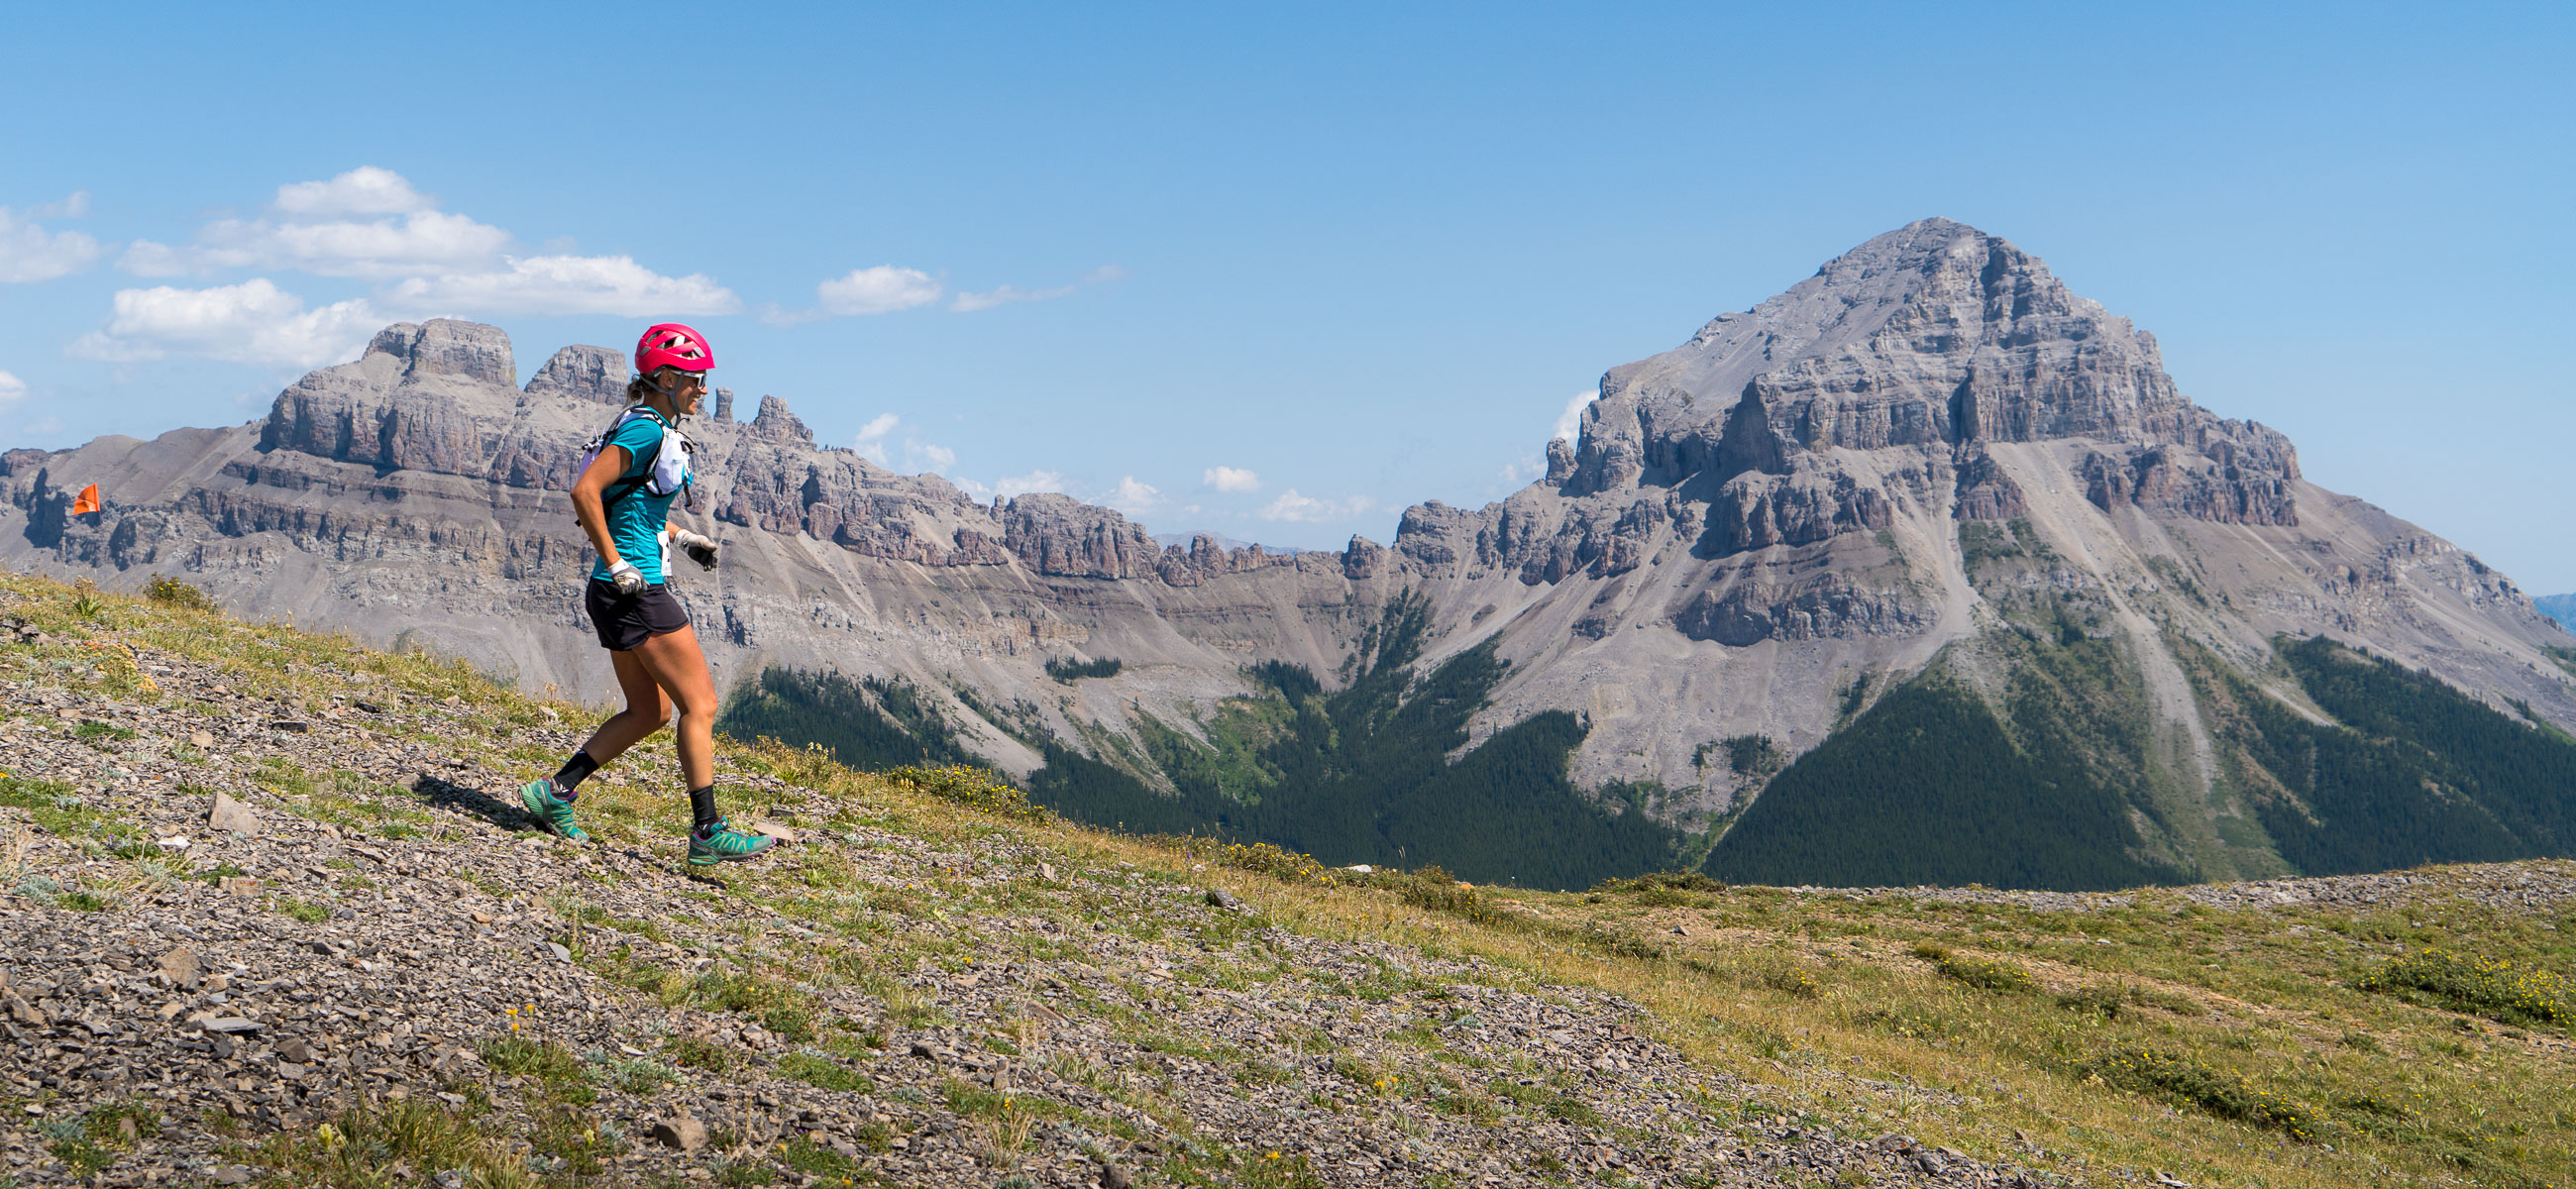
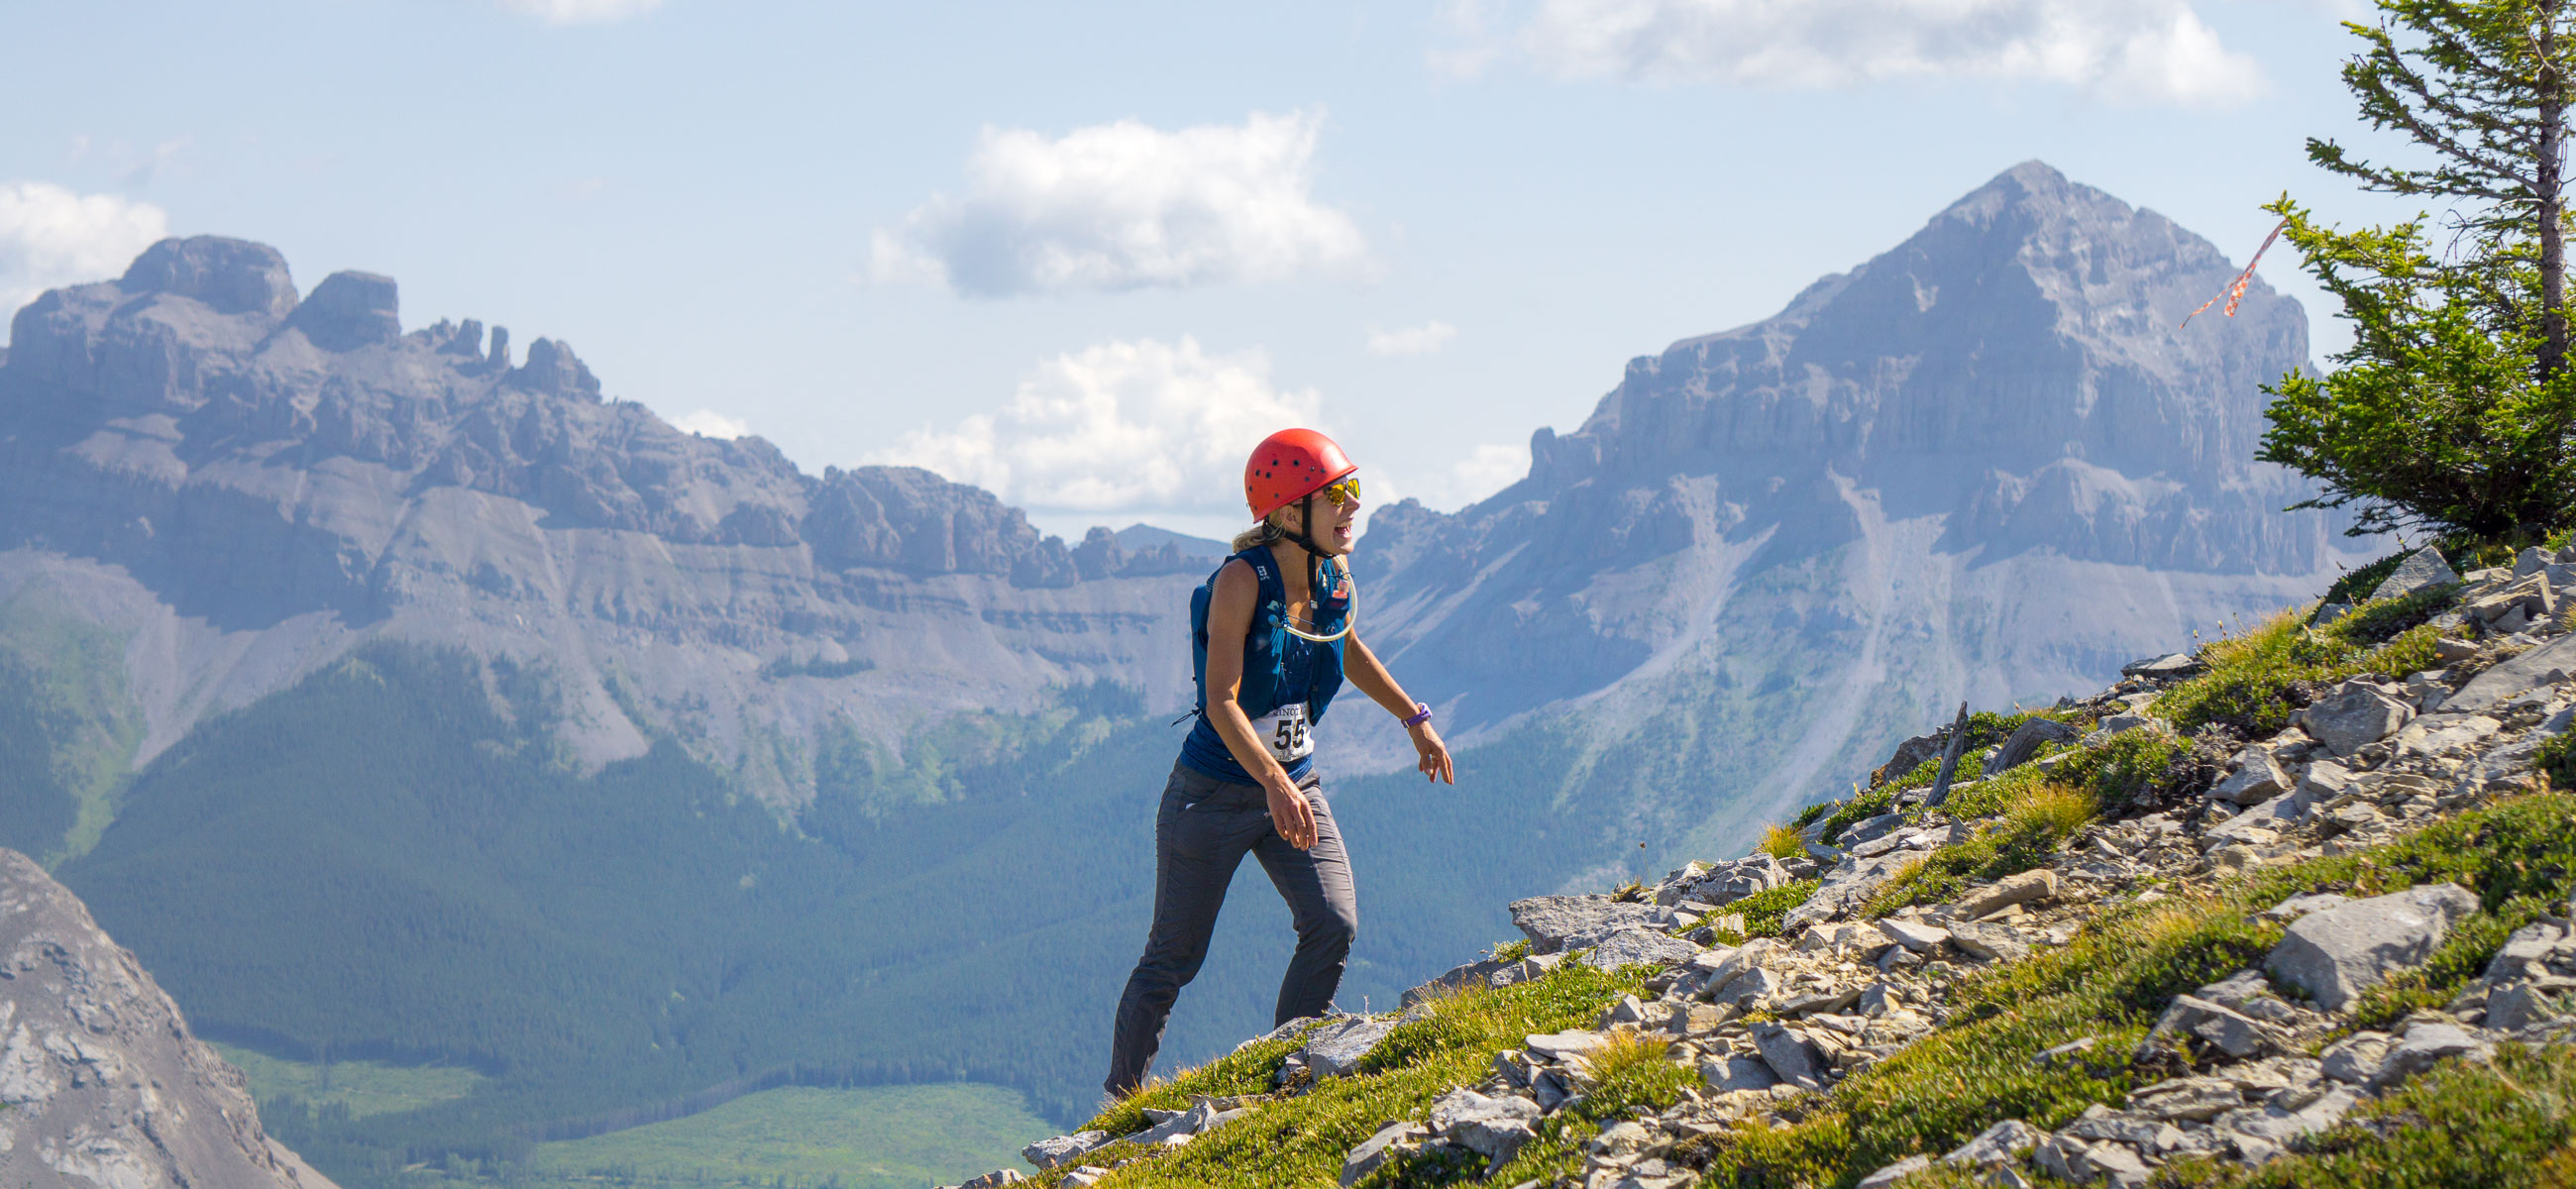
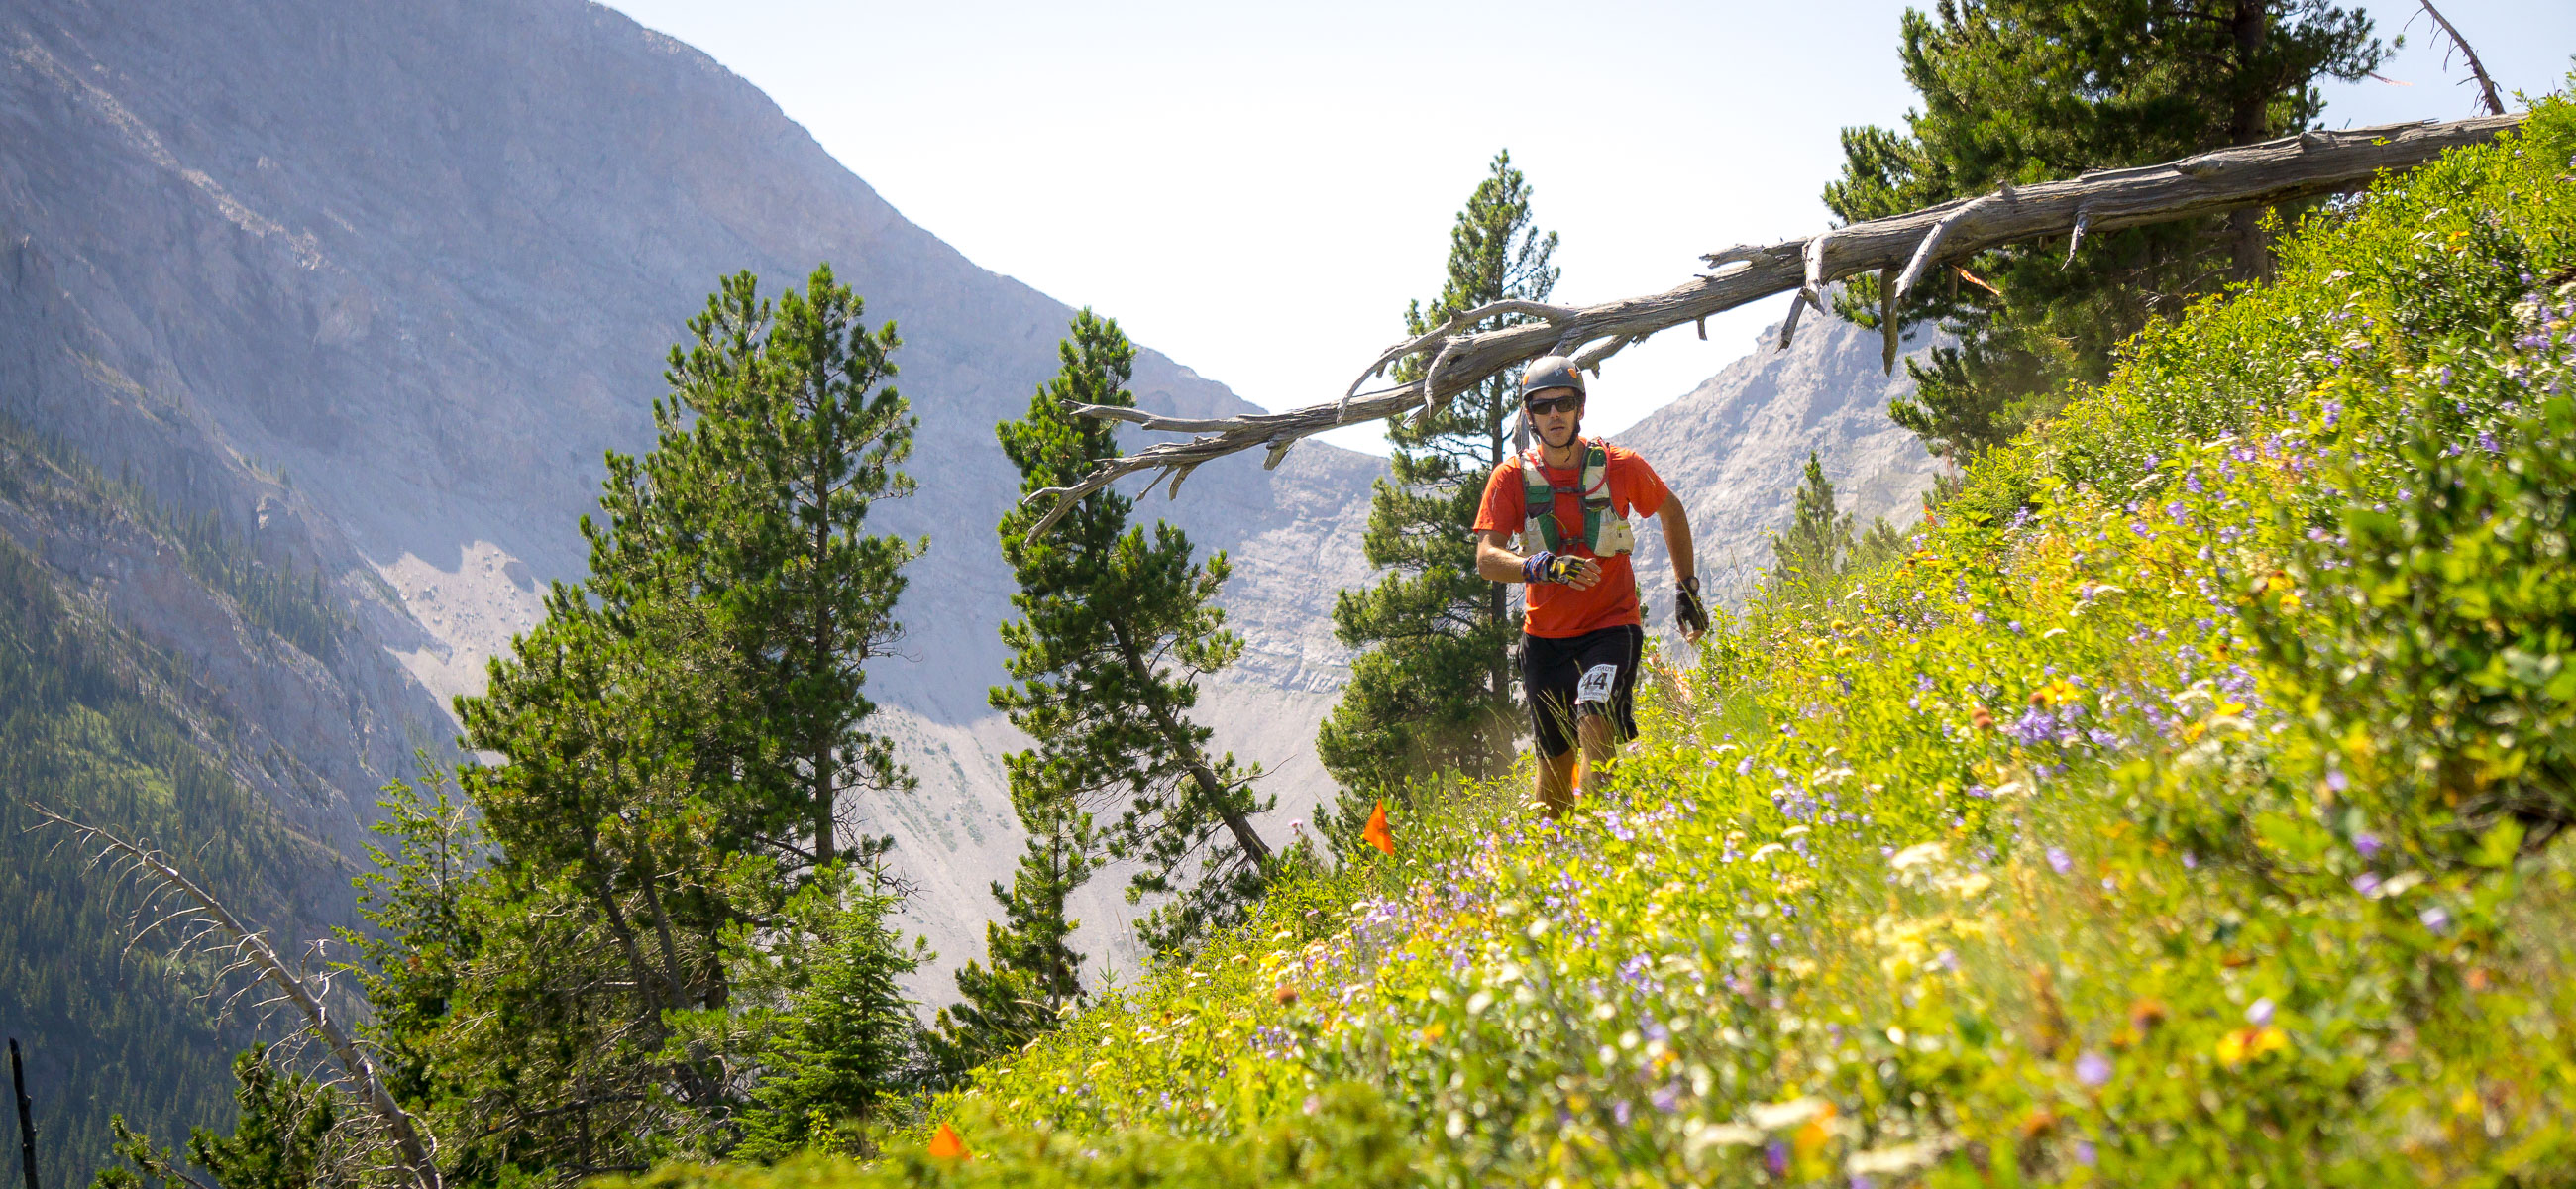
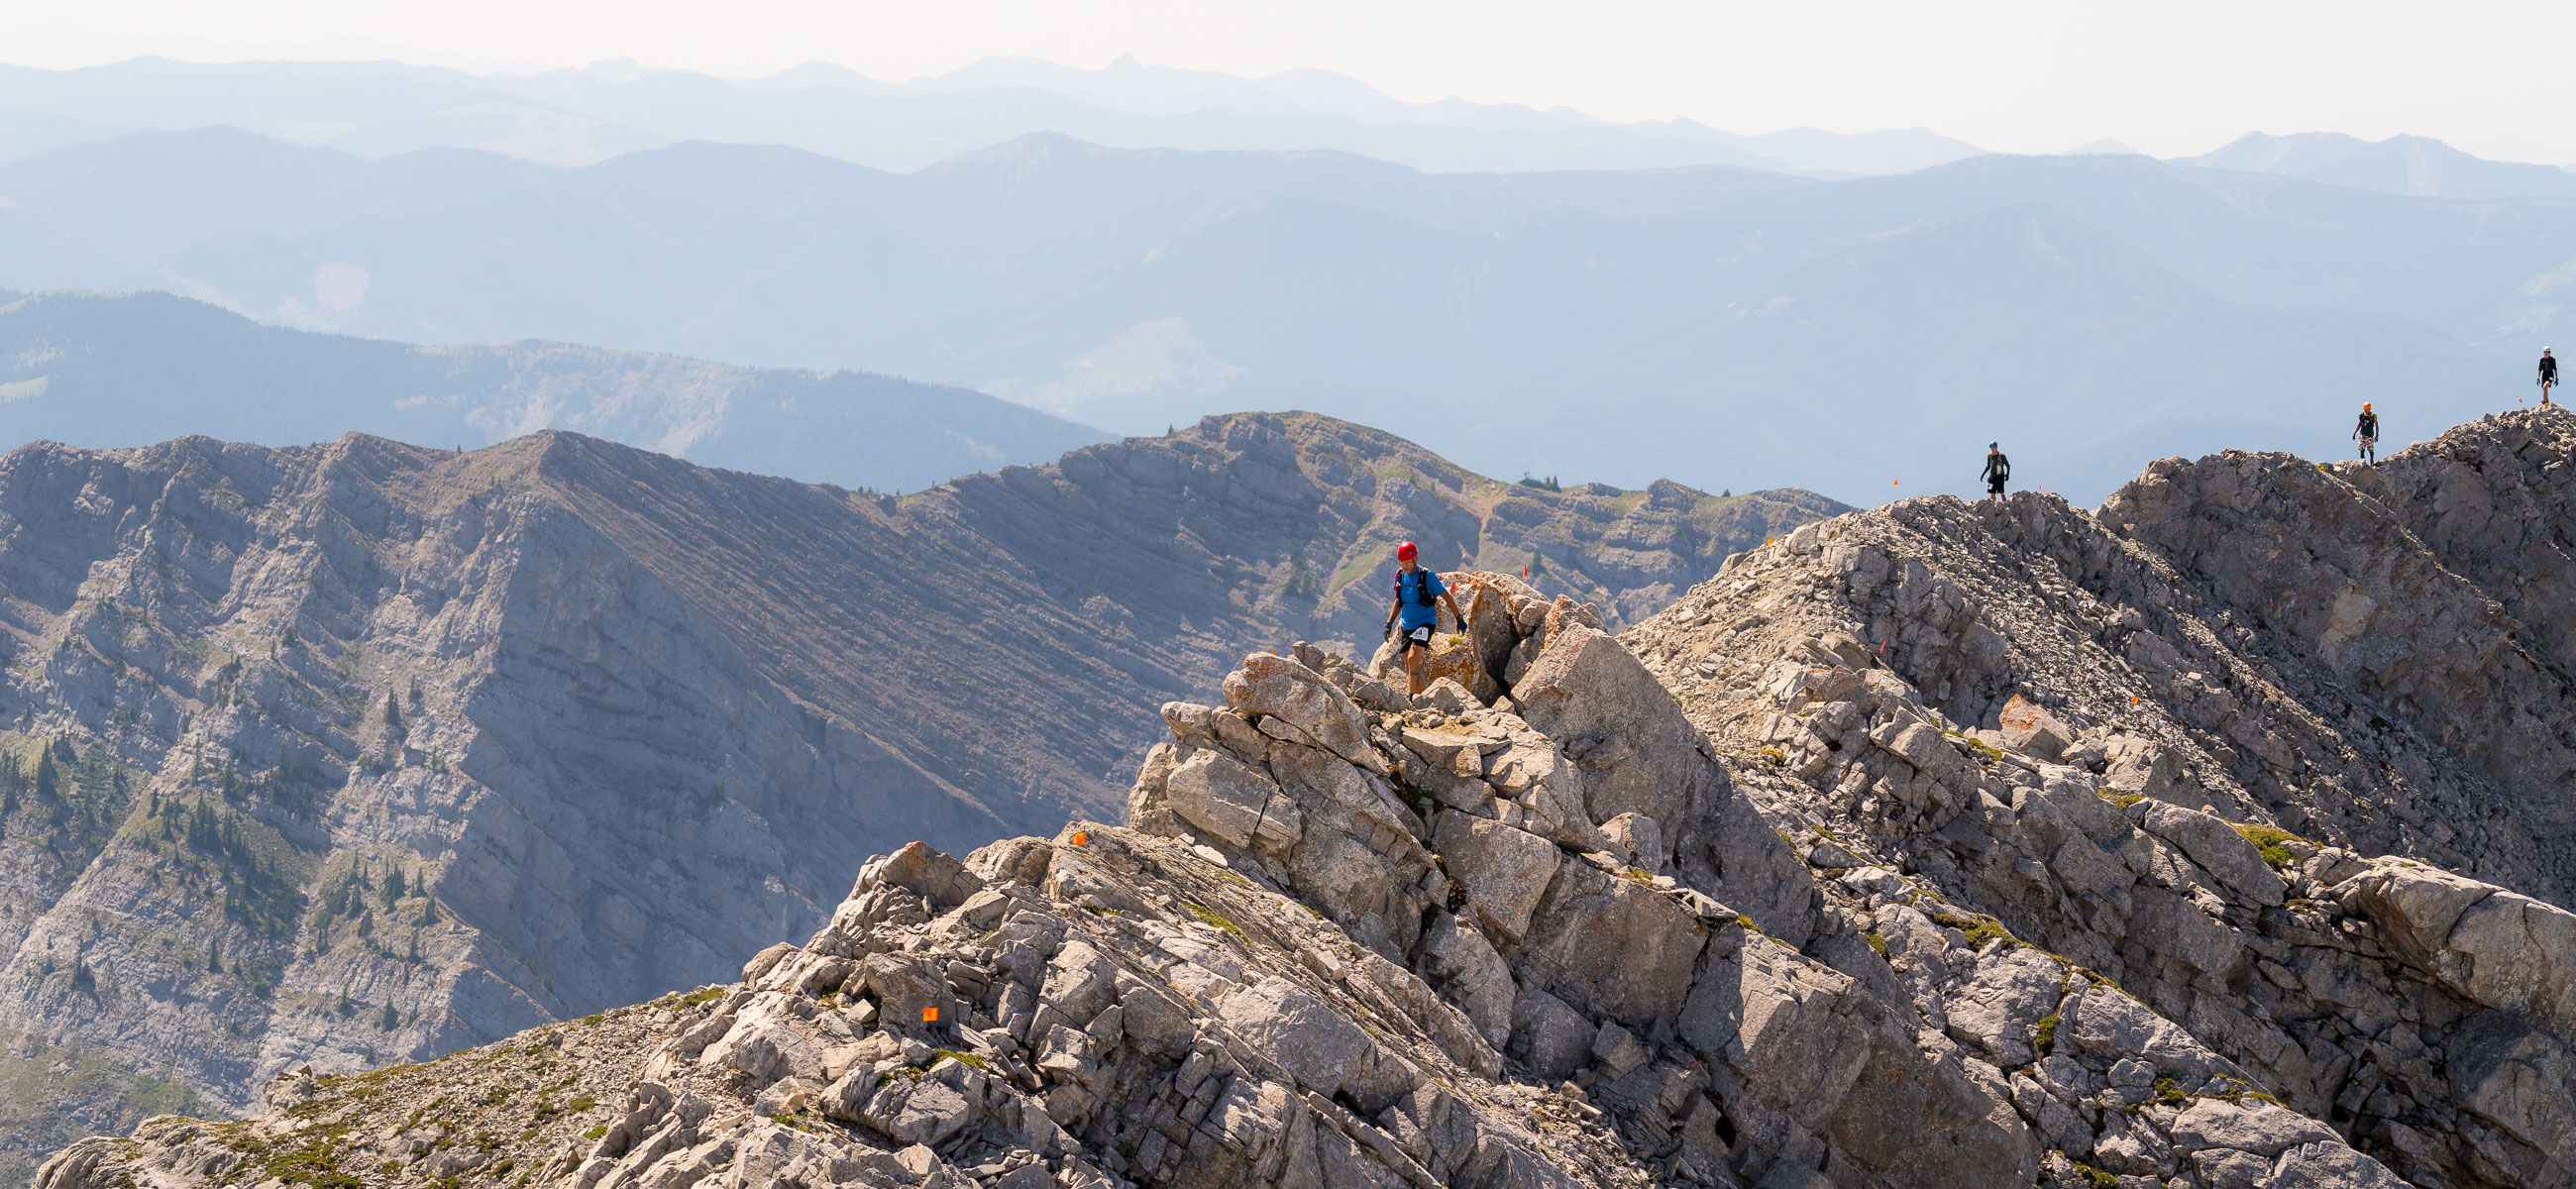
A collection of some of the best photos from a great day on the course and a beautiful day in the Crowsnest Pass.
Check Point 3 to Check Point 4 - Photo Gallery
All of the photos on the full course after passing Check Point 3 (Dead Man’s Peak) to Check Point 4 can be found here.
Start to Check Point 1 - Photo Gallery
You might have spotted Hilary at the top of Fish Peak just before you arrived at the first Check Point. This is where you’ll find those photos.
Check Point 4 to Finish - Photo Gallery
For both the short and the long course, if you happened to see Hilary near the last labyrinth taking photos, have a look through this gallery.
Check Point 2 to Check Point 3 - Photo Gallery
If you did the full course, you might have spotted me, Ben, between the bottom of the valley and the top of Dead Man’s Peak. Check this gallery for the photos.